

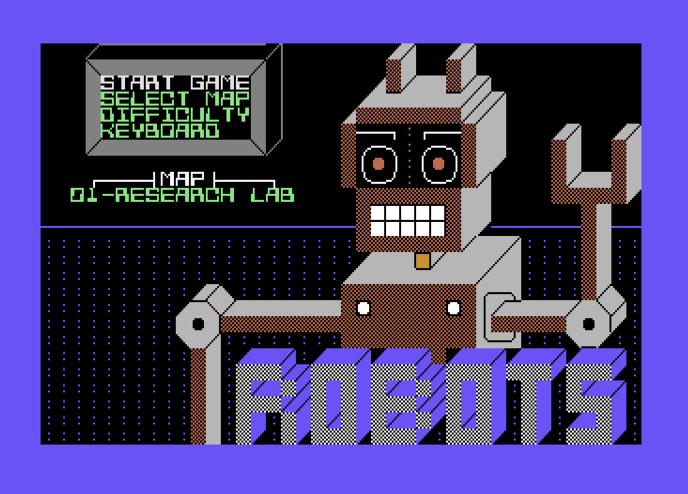
I make it a point to buy new software for old computers at least annually. One particular game that I rather enjoy is called “PETSCII Robots” by The 8-Bit Guy, David Murray. Here is the first video published about the game. In short, this is a blast to play on the Commodore 64 or VIC-20. Probably the best puzzle game build for either platform. There is so much to it and because it is so good, it been ported to many other platforms. I very much enjoyed my experience on the actual hardware but I wanted to play this new game on a TheC64 with a SNES style controller. Unfortunately, it wasn’t as straight forward as one might think.

Background
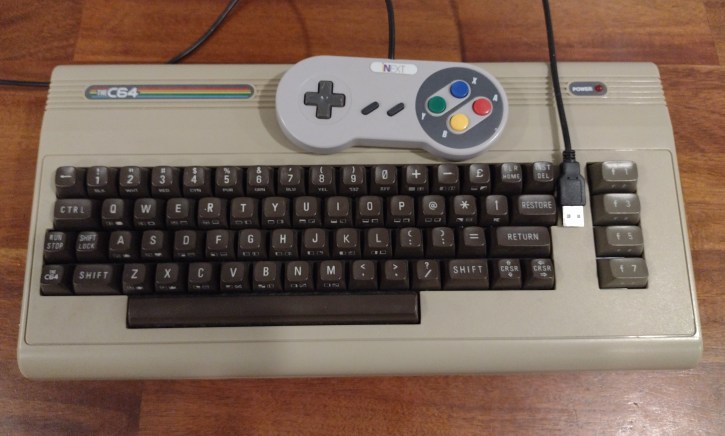
It took me a lot of digging on the Internet to find a solution to this particular issue I was having, using a SNES controller to play PETSCII Robots on TheC64. I have the larger variant, not the mini so I could have very easily used the Keyboard on it just fine but I very much enjoy the experience of playing it on real hardware with the super cool Userport-to-SNES Adapter that came included with my box set of PETSCII Robots for the C64. My USB style SNES controller I use for retro gaming on my Linux machines does work on TheC64 but not in such a way that I could, by default, use it to play this game as intended by the author, David Murray, himself.
TheC64 has all sorts of fantastic ways to set custom configuration to applications or games through passing information in the file name of the disk image or through a configuration file file called a CJM. I read the manual, quite extensively and understood conceptually how it worked but I didn’t have a way to know how the SNES-like controller was mapped with the configuration file.
I did find a solution on this page, Gigabytes-Tech.com, which does work but not as fully as I would like. Looking at the solution, which I can confirm works as stated still left me scratching my head. Why was I seeing repeats of some buttons? Why are there multiple “Z” and “M” entries? I wanted to really understand what the configuration file was doing and maybe, perhaps tweak it just a bit. I still didn’t know which buttons were represented in the file to the SNES-like controller. I really had to take all the information I found, experiment with it and dumb it down to my lower level of understanding.
I needed to understand how to define the CJM file for PETSCII robots. Using my favorite text editor, Kate, I created a file that contained but one line of information, as per the Gigabyte-Tech.com website. It contained the following:
J:2*:I,K,J,L,Z,M,W,A,Z,S,D,SP,MTo my surprise, it worked as expected but then I wondered if I could use a Playstation-Like controller, this Logitech Dual Shock controller and take advantage of additional buttons but I was still left not clearly knowing the locations of buttons defined by these configuration parameters.
Joystick Configuration Matrix
It took some more time and digging but after doing a lot of reading and experimentation, I have been able to figure out what each value corresponds with for a joystick or gamepad. Using this resource, I was able to further understand more of this CJM / SNES Gamepad puzzle. Here is a little matrix I put together to help me understand what button does what and where.

Here is the final configuration line that I am now using with PETSCII Robots. I can happily use this with a SNES-like or PlayStation-like controller without issue. I decided to use L3 and R3 for cycling Weapons and Inventory items as it seemed to work best for me.
J:2*:I,K,J,L,Z,M,W,A,Z,S,D,SP,M,F3,F1More details of the commands can be gathered from the official manual in the chapter for “CJMS FOR INDIVIDUAL FILES”. I am going to explain each part of the text, bit-by-bit for absolute clarity.
J: defines that this line is working with joysticks
2*: defines port 2 and the * indicates it is the primary controller. Even after reading the documentation, I am not sure why it would even be needed but it must be defined. I would love to append this portion of the article once I better understand it. My understanding at the time of writing is in a two player game, most of the time Player 1 is on Joystick 2 and Player 2 would be on Joystick 1 because some issue with Joystick 1 doing weird things. So, when defining the controls the * needs to be set for Player 1.
After some additional testing with PETSCII Robots, you can make this 1* or 2* and the results will be the same for game play.
I Defines what the up direction tells the software on joystick or control pad.
K Defines what the down direction does on the joystick or control pad, and so on down the line. The letters seen are the various letters on the keyboard.
SP Is the SPACE BAR which is assigned the SELECT button on the game pads. SPACE BAR will use your inventory item.

Using the matrix above, you should be able to fill in the rest of the pieces for how each part is defined. I did add the F1 and F3 for Cycle WEAPONS and Cycle ITEMS respectively to the back end of the joystick configuration line. This is one area that my configuration file differs from the article on Gigabytes-tech.com site. This allows me to use those additional functions using my PlayStation style controller from Logitech.

Note: You must ensure that the CJM file name matches the disk image:
c64robots.d64 -> c64robots.cjm
If you do not, TheC64 will not load those configurations.
VIC-20 Version
Initially I tried to use the same configuration file for the VIC-20 version but TheC64 defaults to expecting the program or disk image to be for the Commodore 64. I wanted to make the VIC-20 version work properly on TheC64 as well so a little tweaking of the CJM file and here is the contents of vicrobots.cjm.
X:vic,ntsc,fullheight,35k
J:1*:I,K,J,L,Z,M,W,A,Z,S,D,SP,M,F3,F1
The changes here are adding the X: line to tell TheC64 that this is a VIC-20, NTSC display, utilize the full height of the screen, and make 35k available. For the Joystick section, there is only one joystick port so you must make it 1* but everything else the same.
The Easy Way
You can download this zip file with the CJM files in it for both the C64 and VIC-20. Just extract the files in the folder on the USB drive you keep your PETSCII Robots disk images and just get to playing.

Note: When playing PETSCII Robots on TheC64, the VIC-20 or C64 versions, you must leave the controls on KEYBOARD. The controller is now mapped to the keys. As far as the game is concerned, you are using the keyboard and you can still use the keyboard while using the controller. It’s kind of a bonus.
Final Thoughts

Although I generally prefer to play my old games on the original hardware, I find PETSCII robots to be one of those games that I need to be able to invest a lot more time into. I need more time for exploration so the ability to “save state” and come back to it is very valuable. I don’t have any way to do that on my genuine hardware (yet) and there isn’t a Userport on TheC64 to plug in the SNES controller so setting up a SNES or PlayStation style, USB, controller was really the only viable option and I am very happy with the results.
References
PETSCII Robots Video
https://www.the8bitguy.com/product/petscii-robots/
https://www.gigabytes-tech.com/petscii-robots-joystick-config
https://retrogames.biz/support/thec64/manuals/
http://mrgigabytes.com/retro/c64-mini-cjm-files-reference/
TheC64 Page on CubicleNate.com
Leave a Reply